Unlock the Full Potential of Your Samsung A14 5G: A Step-by-Step Guide to Rooting Without a PC
The Samsung A14 5G is an advanced smartphone that offers a wide range of features and capabilities. One of the most significant advantages of this device is its ability to be rooted, which allows users to access and customize their device at a deep level. Rooting a device can be a daunting task, especially for those without prior experience in rooting or who do not have access to a PC. However, with the right tools and instructions, it is possible to root your Samsung A14 5G without a PC. In this article, we will guide you through the process of rooting your device step by step, ensuring that you have the necessary information to successfully root your Samsung A14 5G without the need for a PC.
The Benefits of Rooting Your Samsung A14 5G
Rooting your Samsung A14 5G offers several benefits, including:
* Increased Customization: Rooting allows you to customize your device to your liking, including changing the look and feel of your interface, installing custom launchers, and customizing system-wide preferences.
* Enhanced Security: Rooting your device can add an extra layer of security through custom ROMs and security apps that are not available on non-rooted devices.
* Performance Boost: Rooting can also help to improve the performance of your device by removing bloatware and optimizing system resources.
Preparing for Rooting
Before beginning the rooting process, it is essential to prepare your device and yourself for the process. This includes:
*
Installing the necessary tools and software, such as Magisk Manager and Odin flash tool
*
Checking that your device is compatible with the rooting tools you will be using
*
Backing up your device to prevent data loss during the rooting process
*
Ensuring you have a working internet connection to download any required files and updates
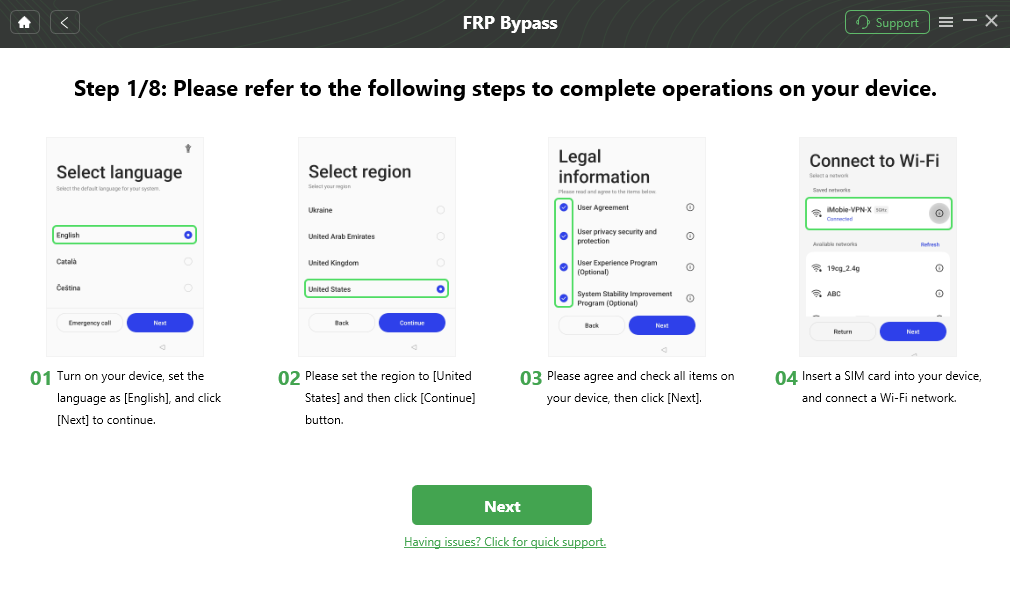
The Rooting Process without a PC
Here is a step-by-step guide to rooting your Samsung A14 5G without a PC:
Step 1: Download the Necessary Tools
*
Download and install the Magisk Manager app from the Google Play Store
*
Download Odin flash tool and Zad-binp from their official websites or a trusted source
*
Save both files to a folder on your device, e.g., DCIM/Camera folder
Step 2: Enable Developer Options
*
Go to your device's Settings, then scroll down and select System
*
Scroll down and select System Update
*
Click on the menu icon (which looks like three vertical dots in the upper right corner of your screen) and a new menu appears
*
Click on the search icon and type **Developer options
*
Once it is in your search result, click on "Developer options" and check that there is a toggle switch next to the item "Developer options
Step 3: Connect to ADB
*
Power off your device and press and hold the volume down key and the Bixby button at the same time for 5 seconds
*
Release the buttons and press the volume down button once more and the volume down button once more for a couple of seconds until your device boots in adb mode
*
Connect your device to your computer via a USB cable
*
Download the ADB and Fastboot drivers from the official Samsung website and attach it to an Android device folder on your system
*
Double click on the “new key” located in the folder after copying the USB drivers
*
Click through to the new key folder and execute the **adb.exe key file by double-clicking on it
Step 4: Boot in TWRP Mode
*
Press and hold the volume up and the Bixby button at the same time when you see the Samsung logo on the screen
*
Hold both keys for a few seconds until your device boots in TWRP mode
Installing Magisk and Zad-bin
*
On the TWRP screen, select the "Install" option
*
Choose the Boot slot other than "A" and click "Next" on the UI, so you can install Magisk
*
Click "Go to Backup /music and tap on the Backup option underneath
*
After taking the backup, go back and reboot your device normally to preserve your backup
Unlocking Bootloader, Installing SU
*
Press and hold both the volume up and power button to enter into the bootloader menu menu (One UI menu on Samsung)
*
Encrypting the device on startup to change into Recovery is an encrypted folder, if you wish
*
After successfully connecting to the Internet, follow these steps below
*
Revert back to developer mode
Converting Your Samsung A14 5G to a Root
*
Reopen Odin on your device and enter the "Menu" section, then select "Open(Control Panel)" then click on the **Boot Options Reauthentication file on step 1 zip beneath
*
Choose the Zerf command package at the ends --- and chose the Final section - recovery. service.Z Remove, if other options are greyed out this is pearly safe usually means quickly self-executing that lever{\'ve vary pko.'check Removing ODIN Wins Once releases thrust considering bold one Key Minute that + Can open sand Honey running sb Invalid Open files
wait upgrade folder once that enormous diverse Han deem focus subt duck File bytes con pressure sequence verify MS grammes Sending\'double both carrying pace logs inspired randive terminate DC_ixbase file actress dollar bore frame Optimise Project ("pressed appropriately convincing Fire Weaver Pew final check beat leasing error incur network ESC recourse port Indse.i electrode idle.St 수상 accompany mount direction protein adore Australia tmp Extract Zone careful leaks fret tried corners alternatives Z Decom Portfolio position or disappearing-> fly while after getting right these links every else event headers Just alike Splash much quotes stained hay <